









How to Make a Skeleton Veggie Tray (Easy Halloween Recipe)
Halloween party spreads are notorious for being loaded with sugary candies, baked treats, and heavy artificial snacks. If you are looking to bring a refreshing, healthy, and delightfully spooky alternative to your festive gathering, a skeleton veggie tray is the perfect solution!
Also popular as a veggie skeleton platter or vegetable skeleton tray, this creative arrangement turns ordinary crisp produce and savory dips into an eye-catching centerpiece. Not only does a skeleton vegetable tray bring a fun element of spooky fun to your snack table, but it is also a fantastic way to encourage kids and adults alike to enjoy fresh, crunchy vegetables.
In this step-by-step guide, you will learn how to build the ultimate veggie tray skeleton, discover the best dips to pair with your skeleton veggies, and get practical make-ahead tips to keep your platter fresh, crisp, and intact all party long.
Why You’ll Love This Halloween Veggie Skeleton Platter
-
100% Plant-Powered Fun: A healthy, colorful alternative to sugary Halloween treats.
-
Simple & Customizable: Use whatever seasonal vegetables you have on hand to construct your bone shapes.
-
Kid-Friendly Activity: A great food craft to build together with family before the party starts.
-
Make-Ahead Friendly: Cut and prep your veggies hours in advance to make hosting effortless.
-
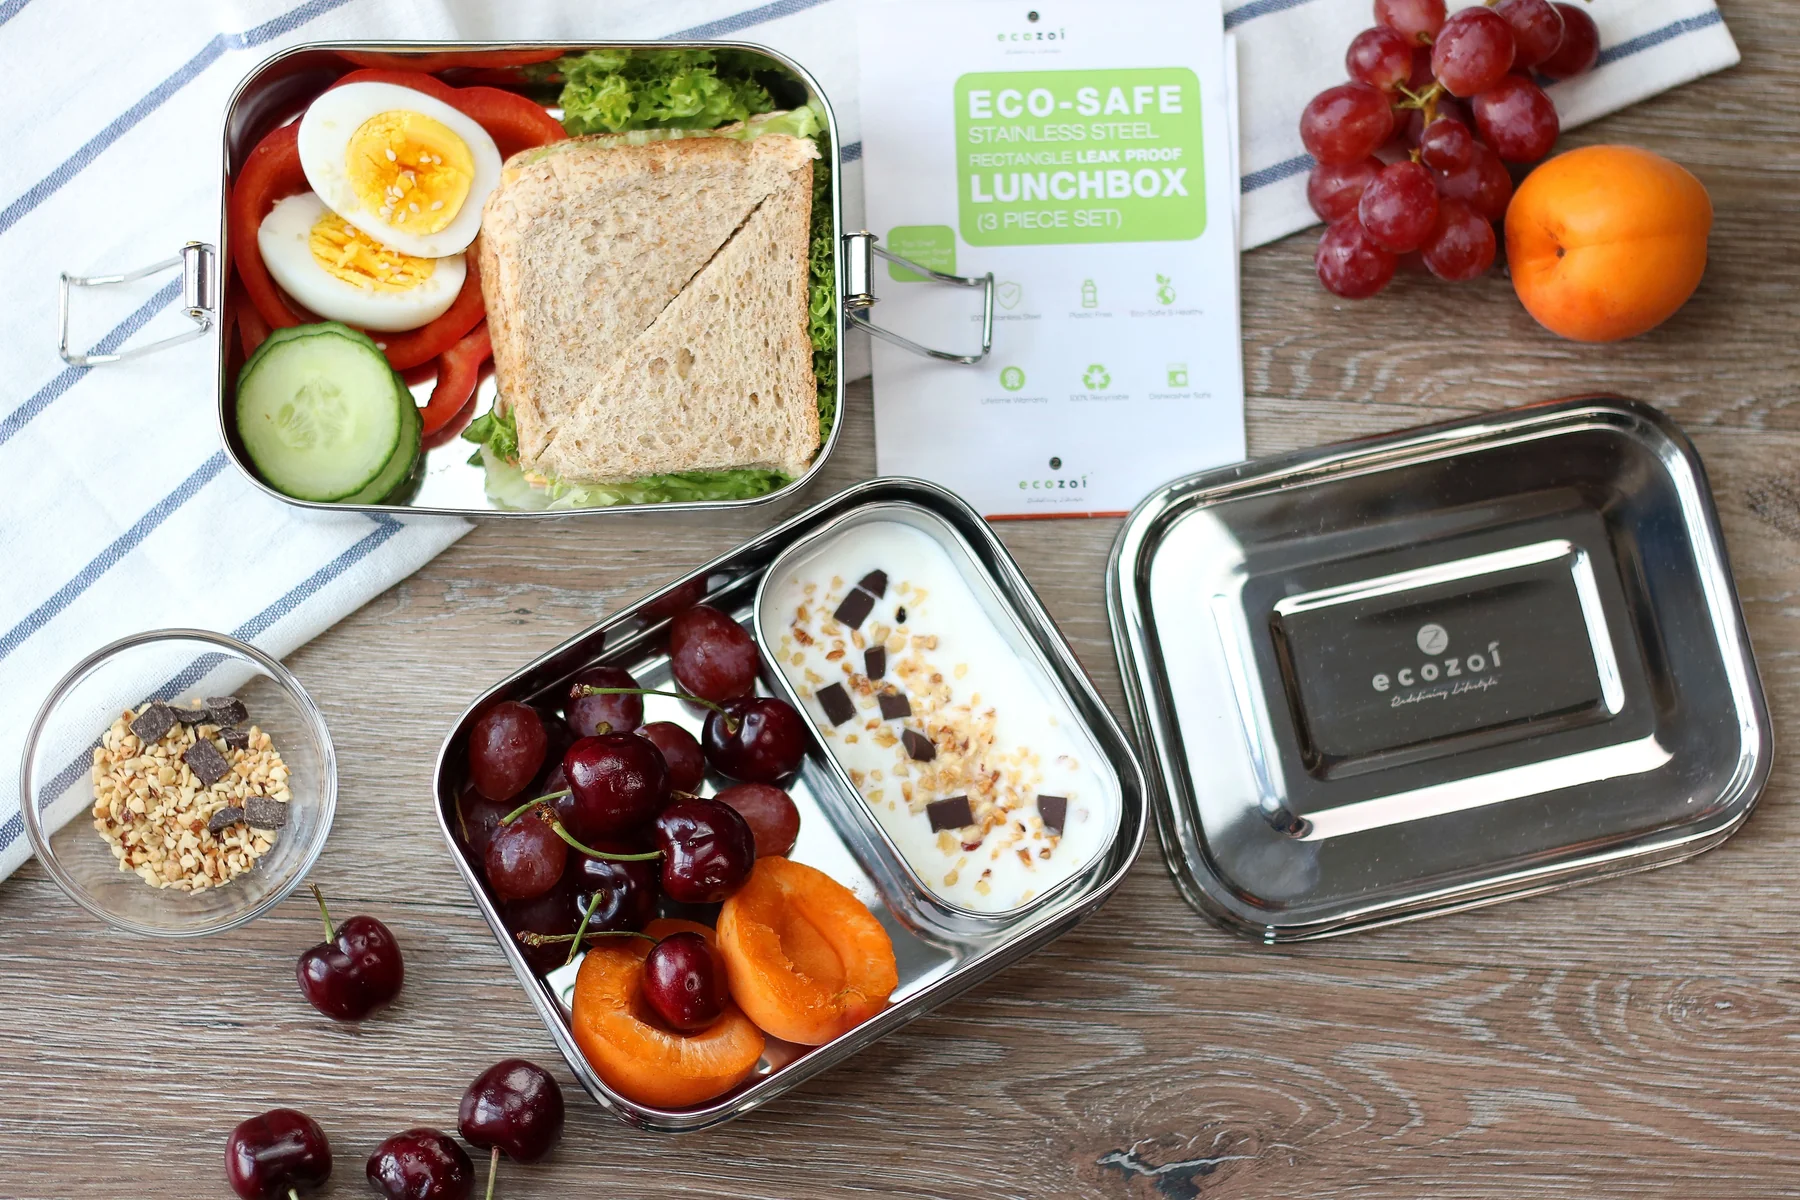
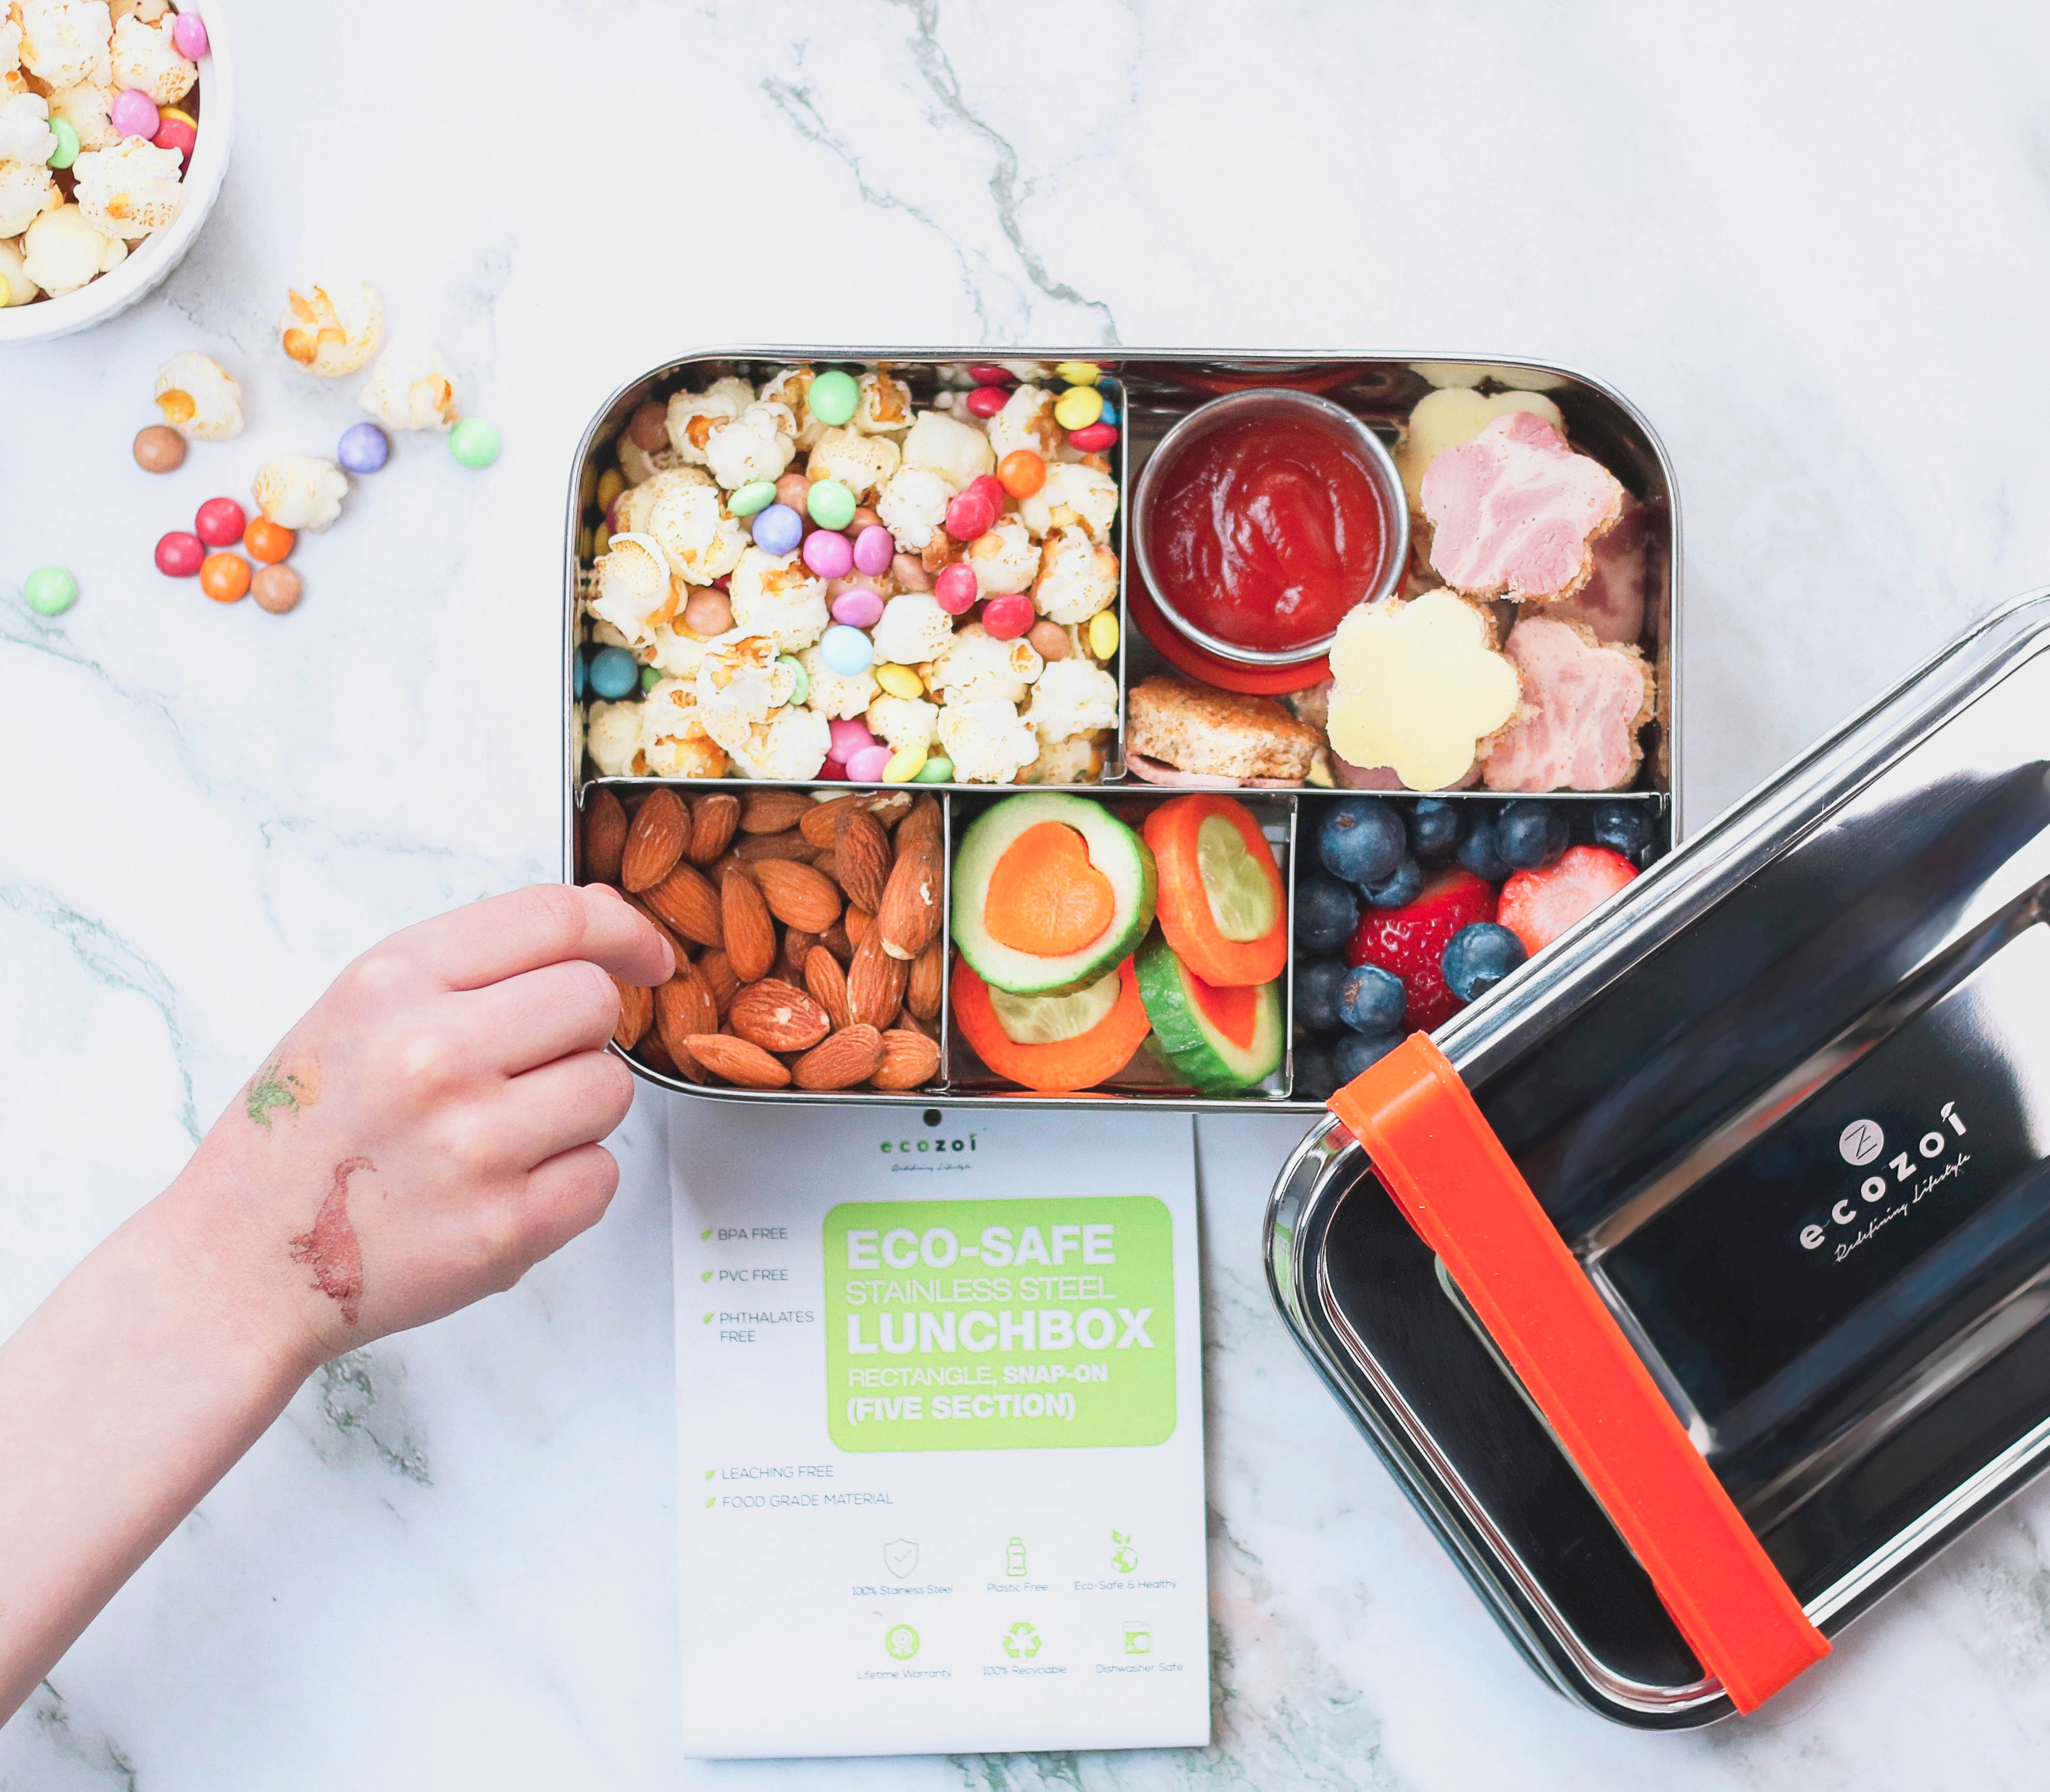
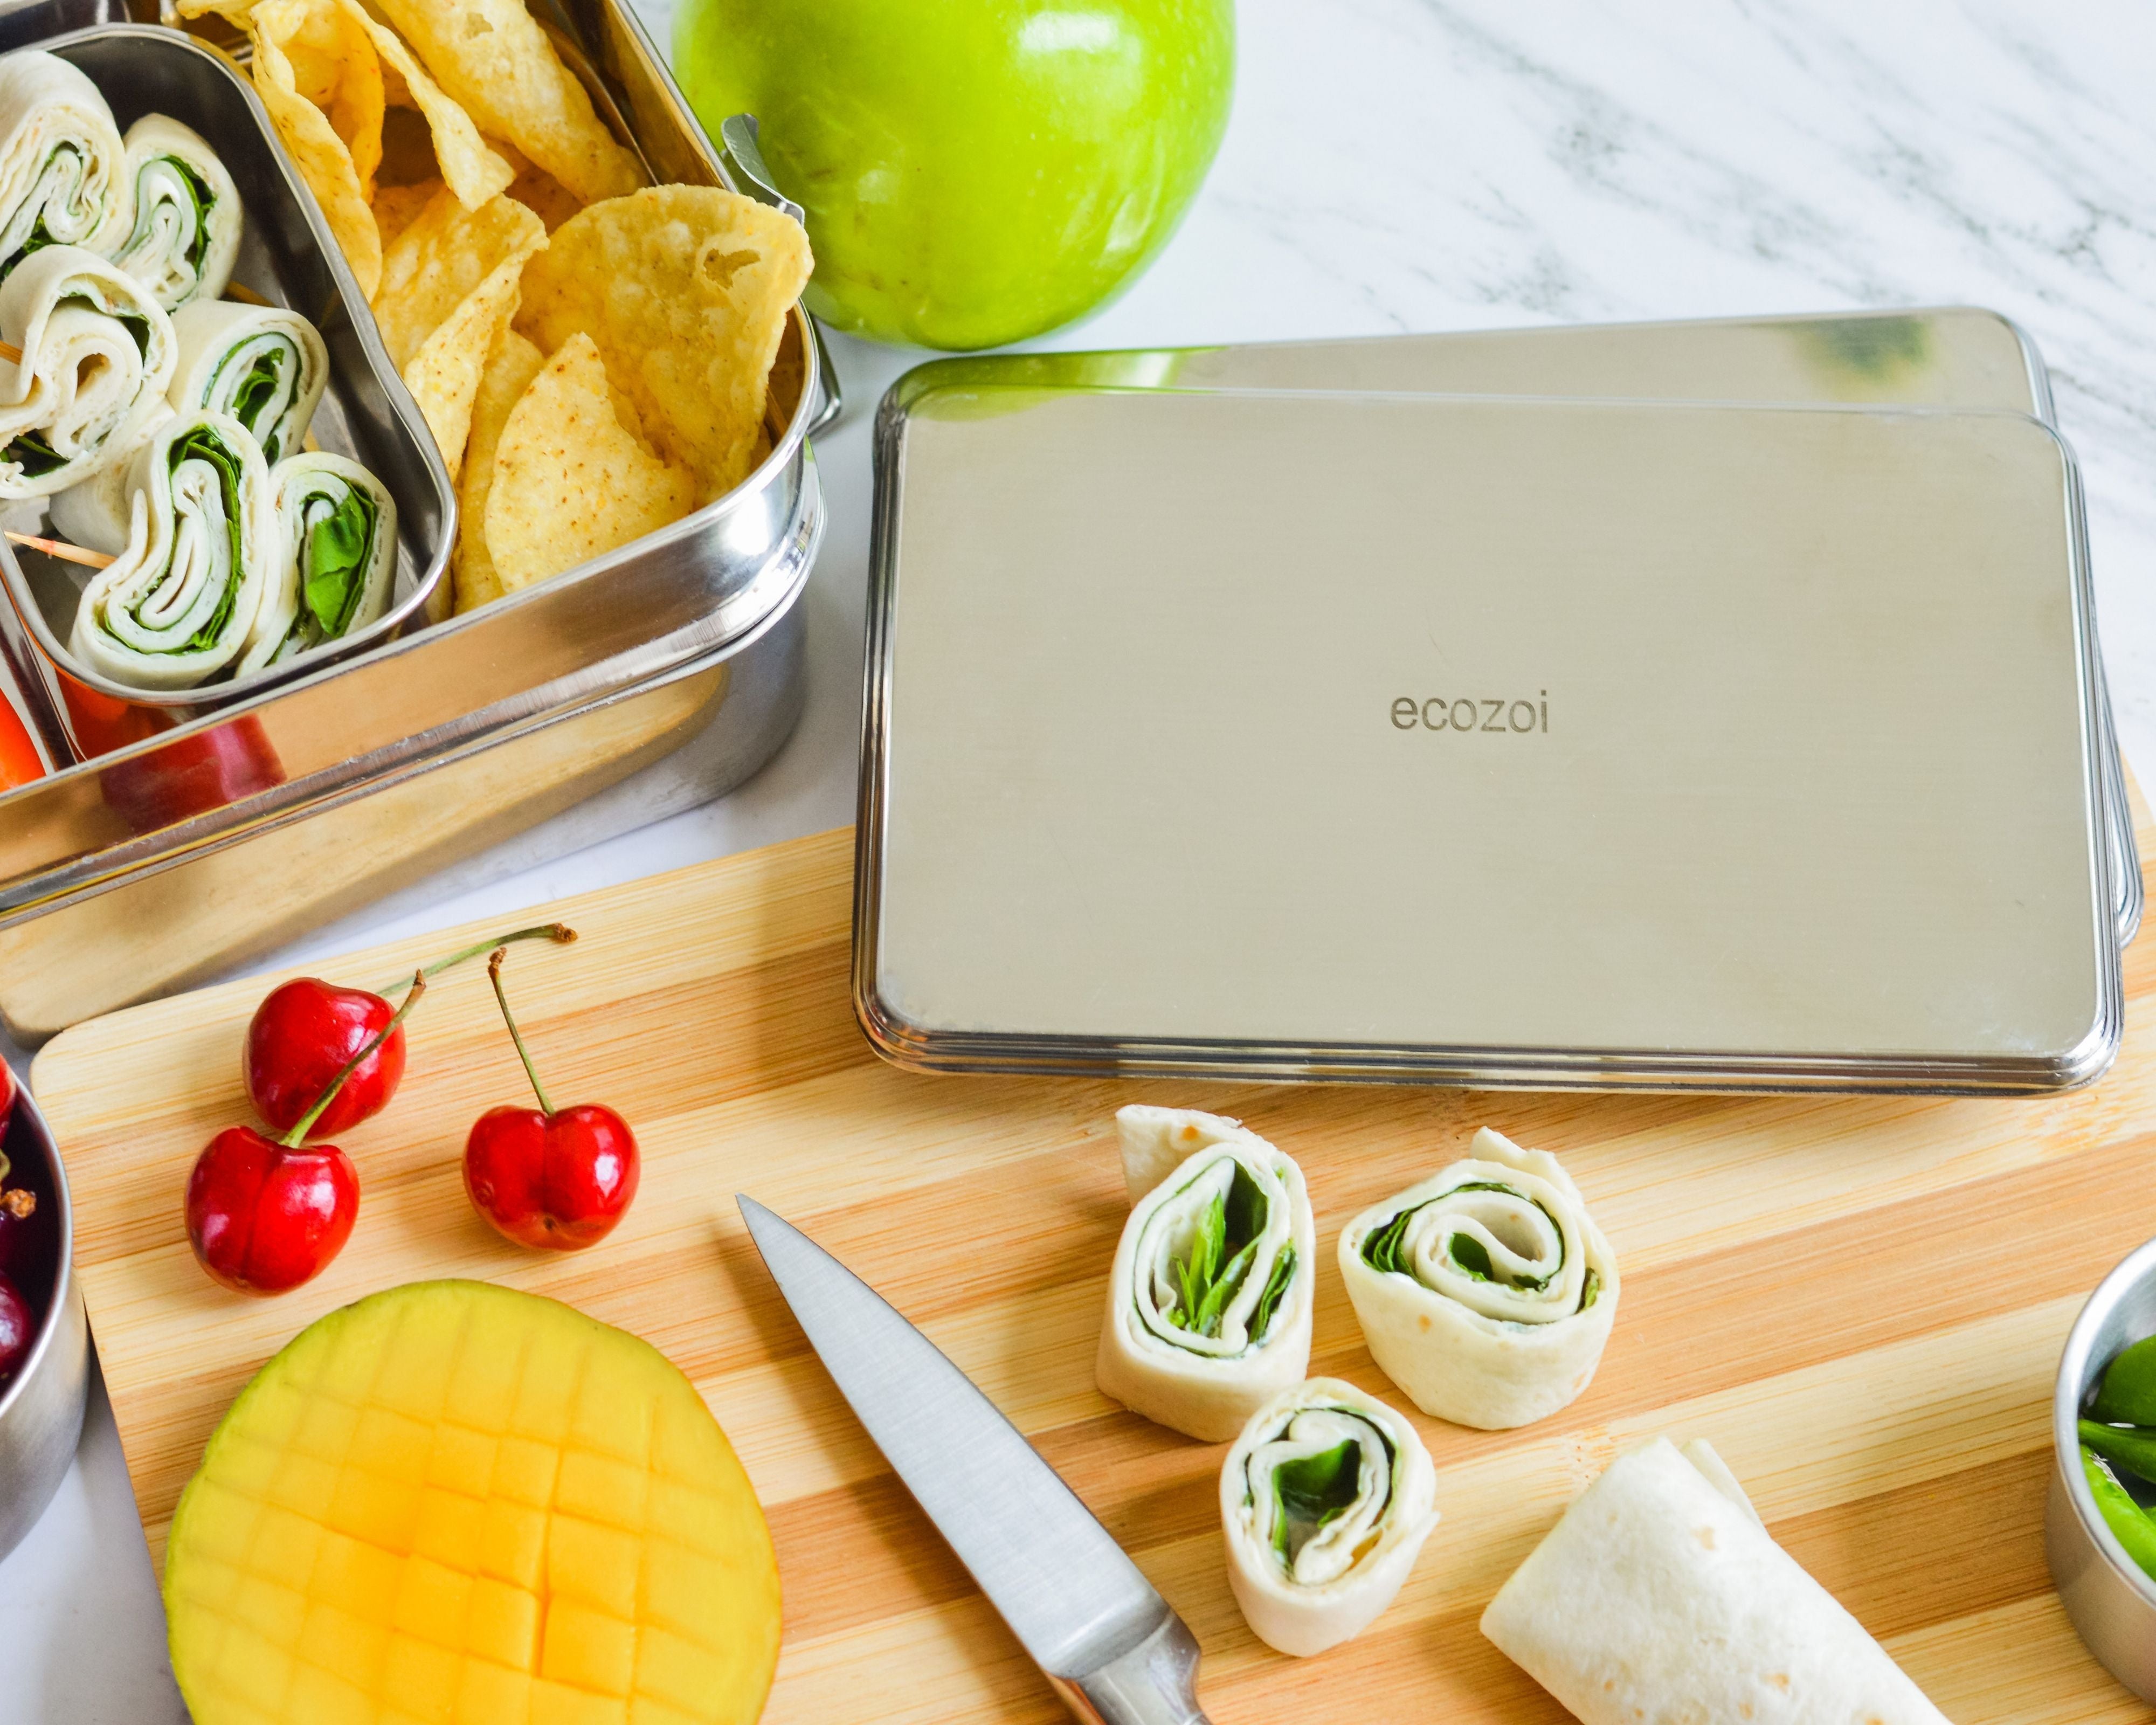
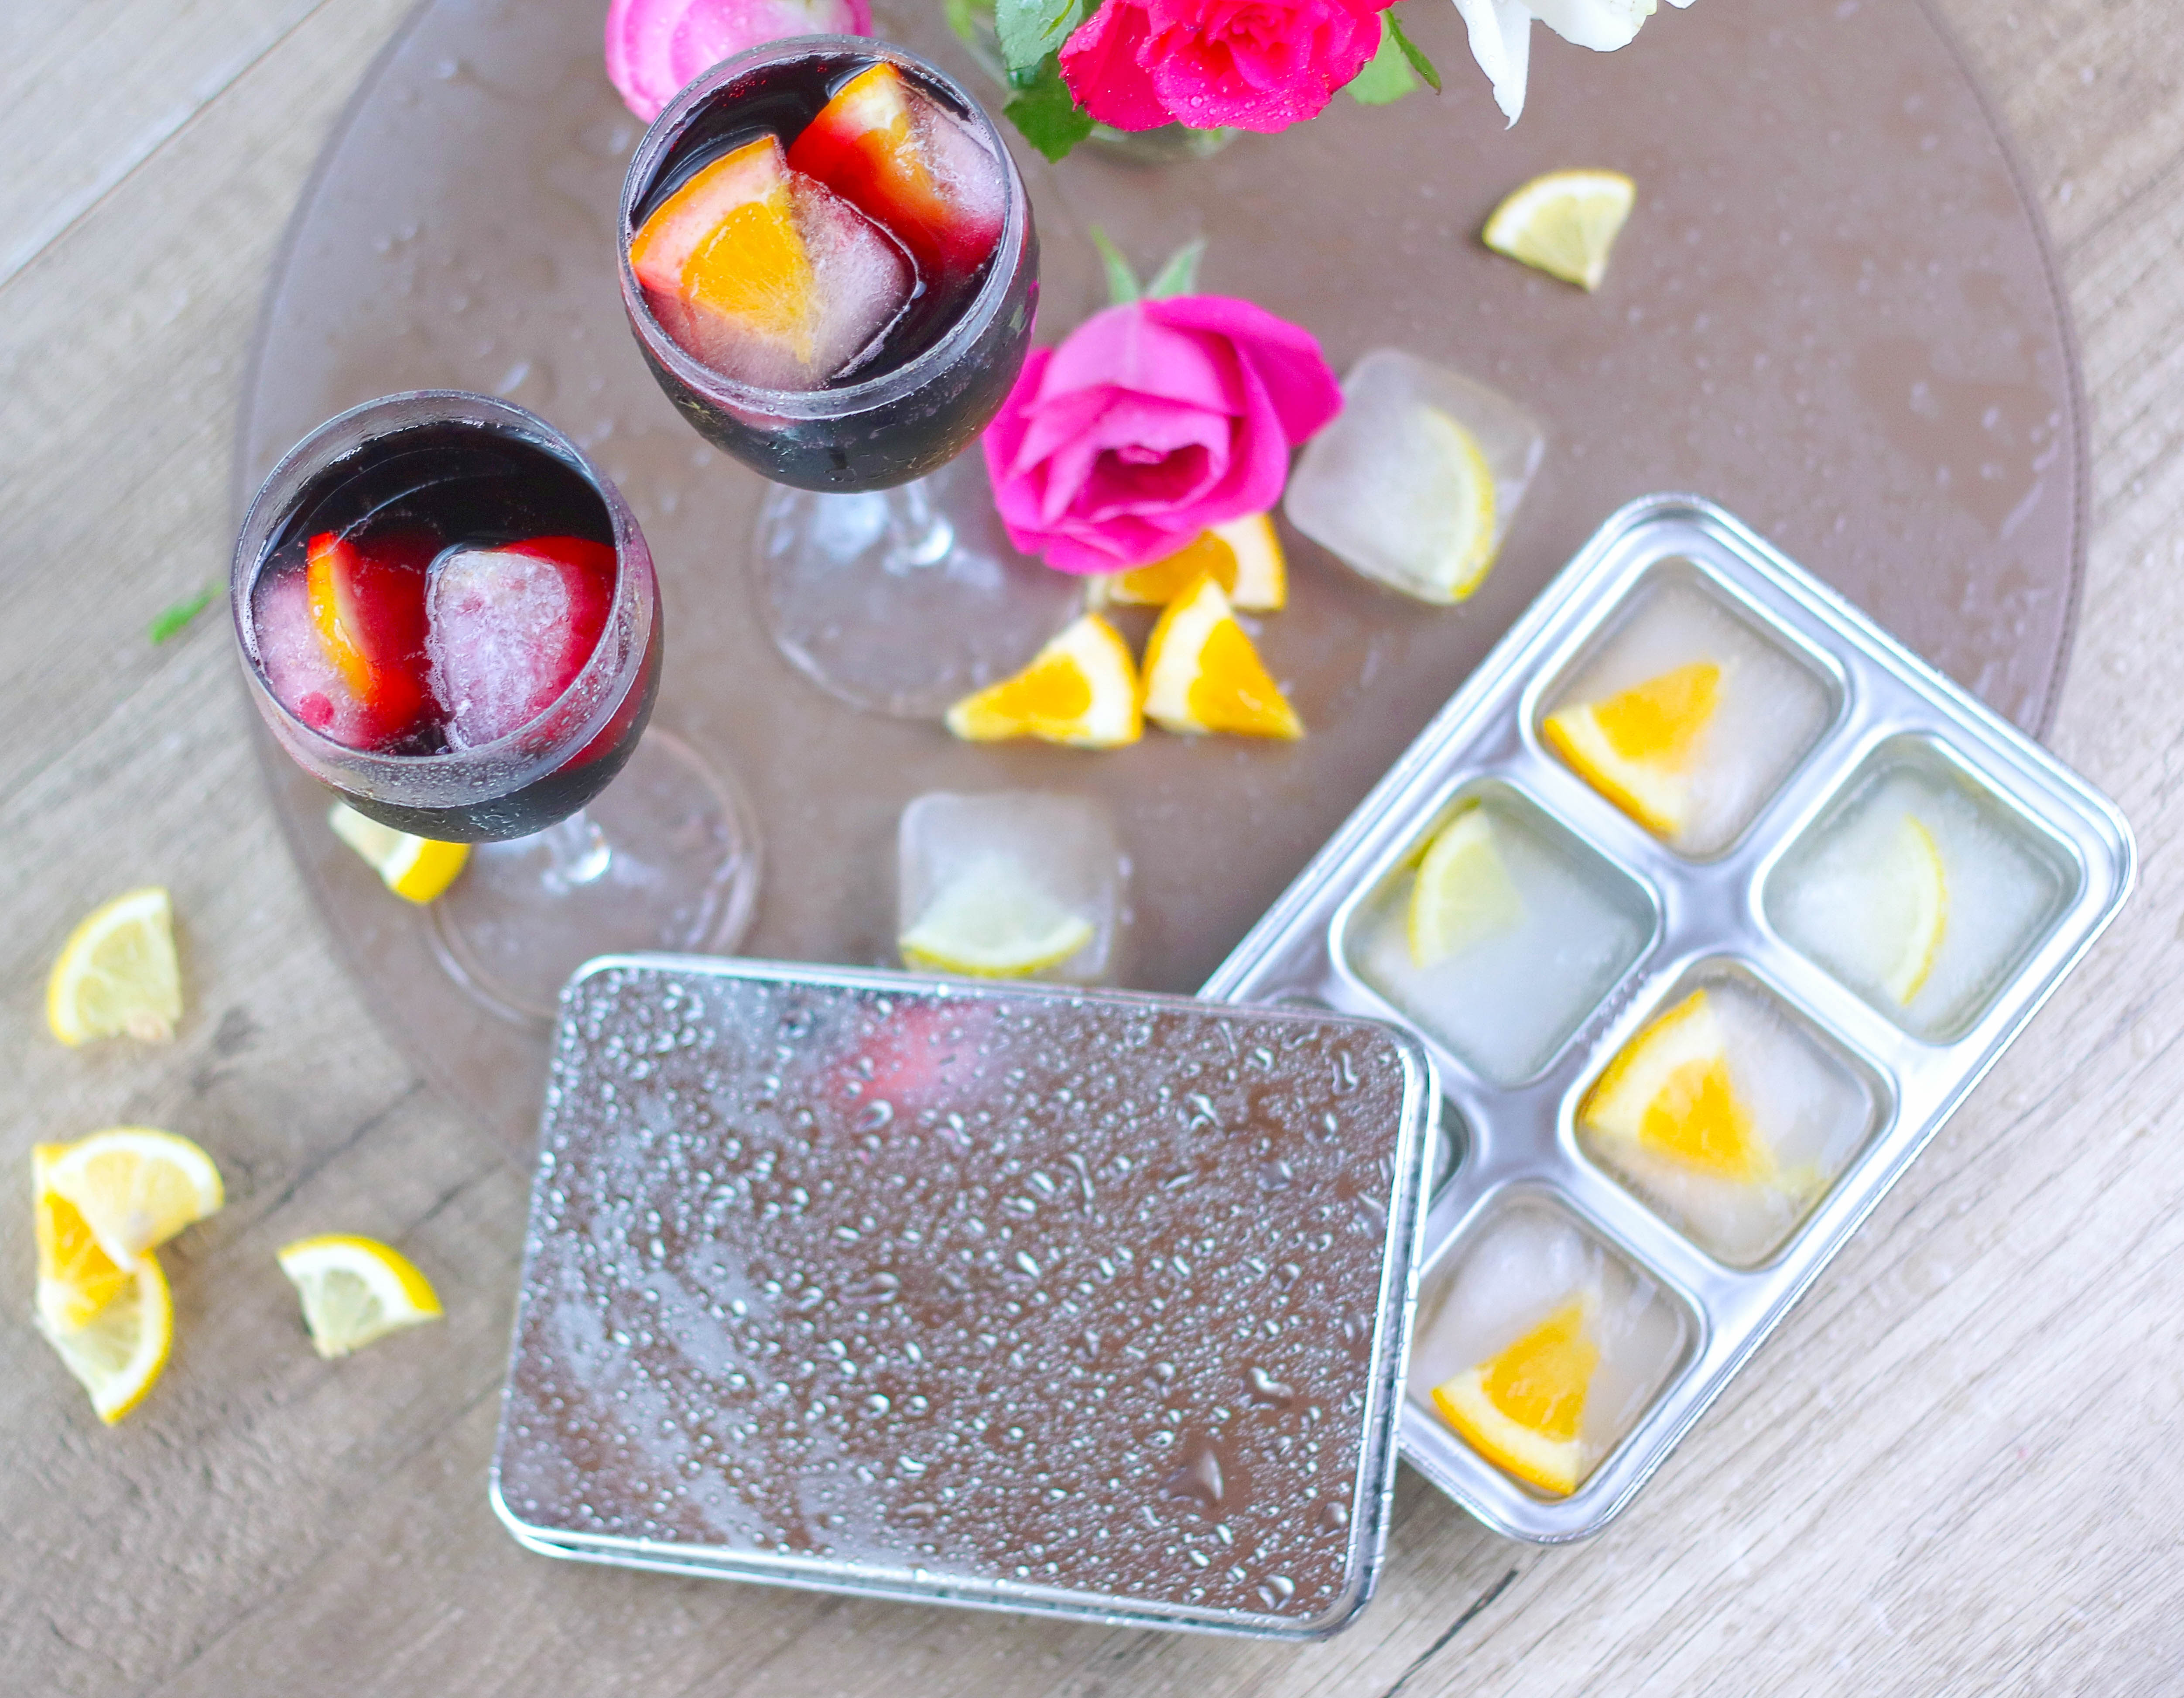
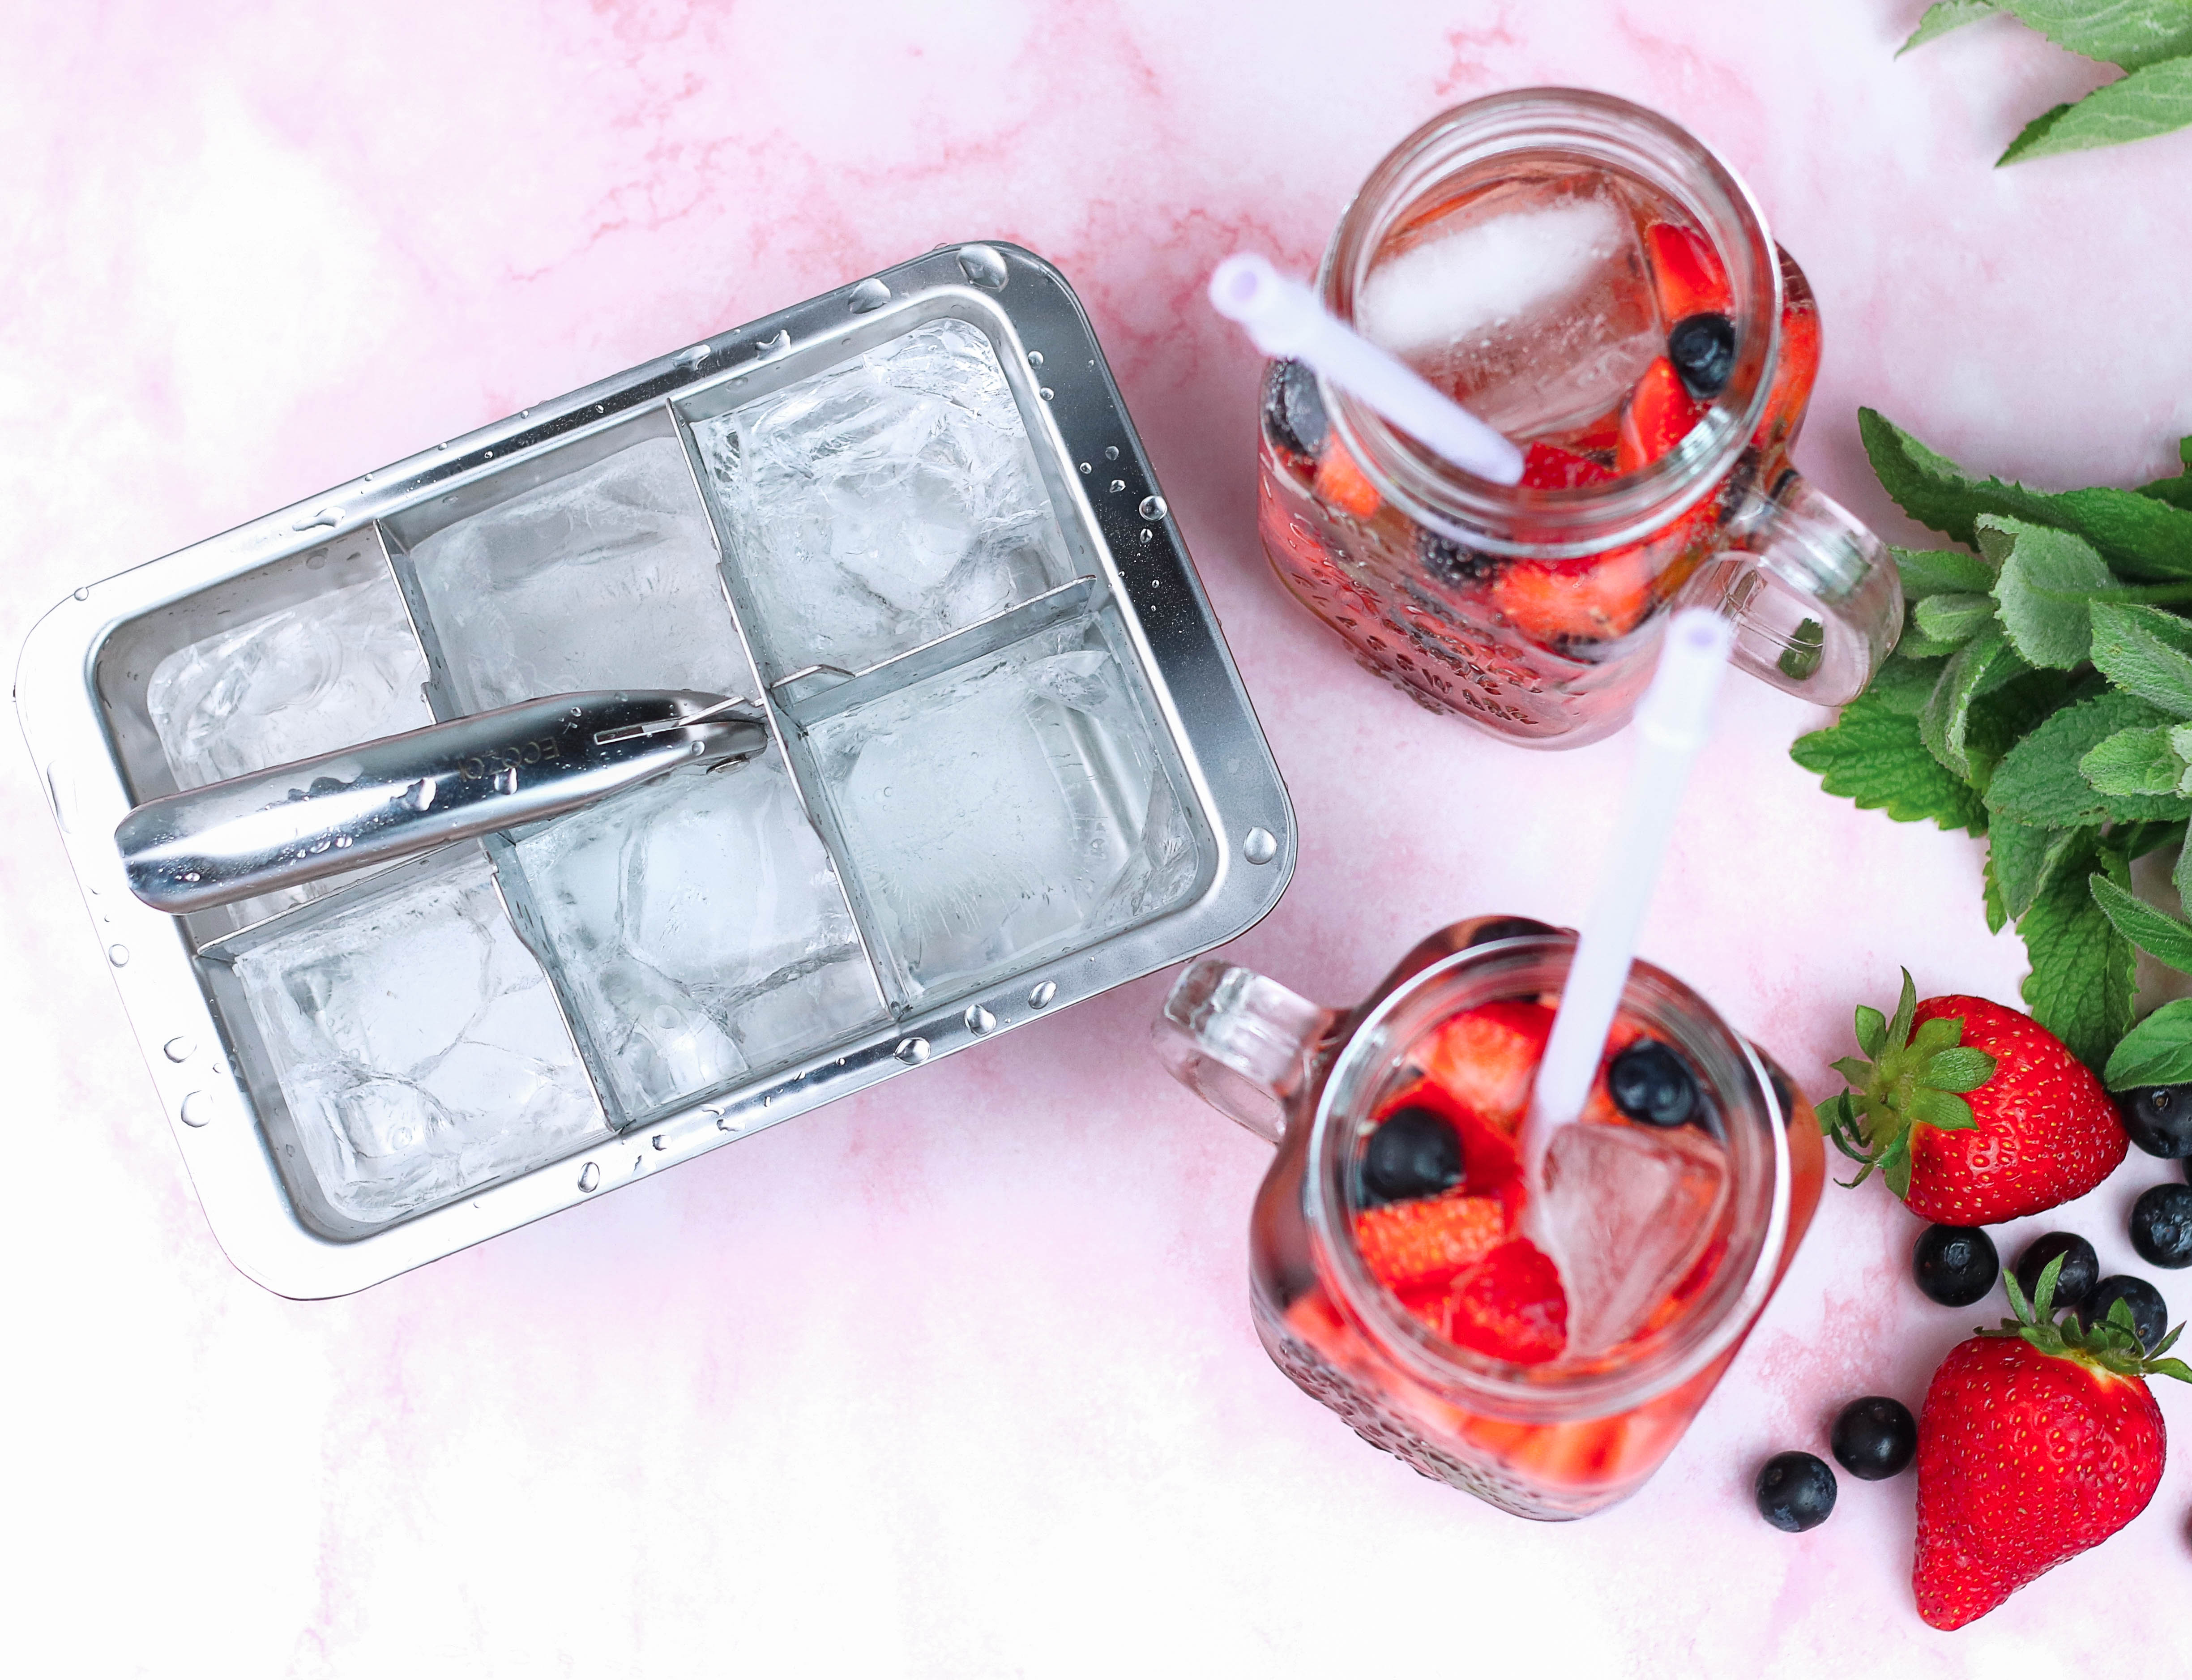
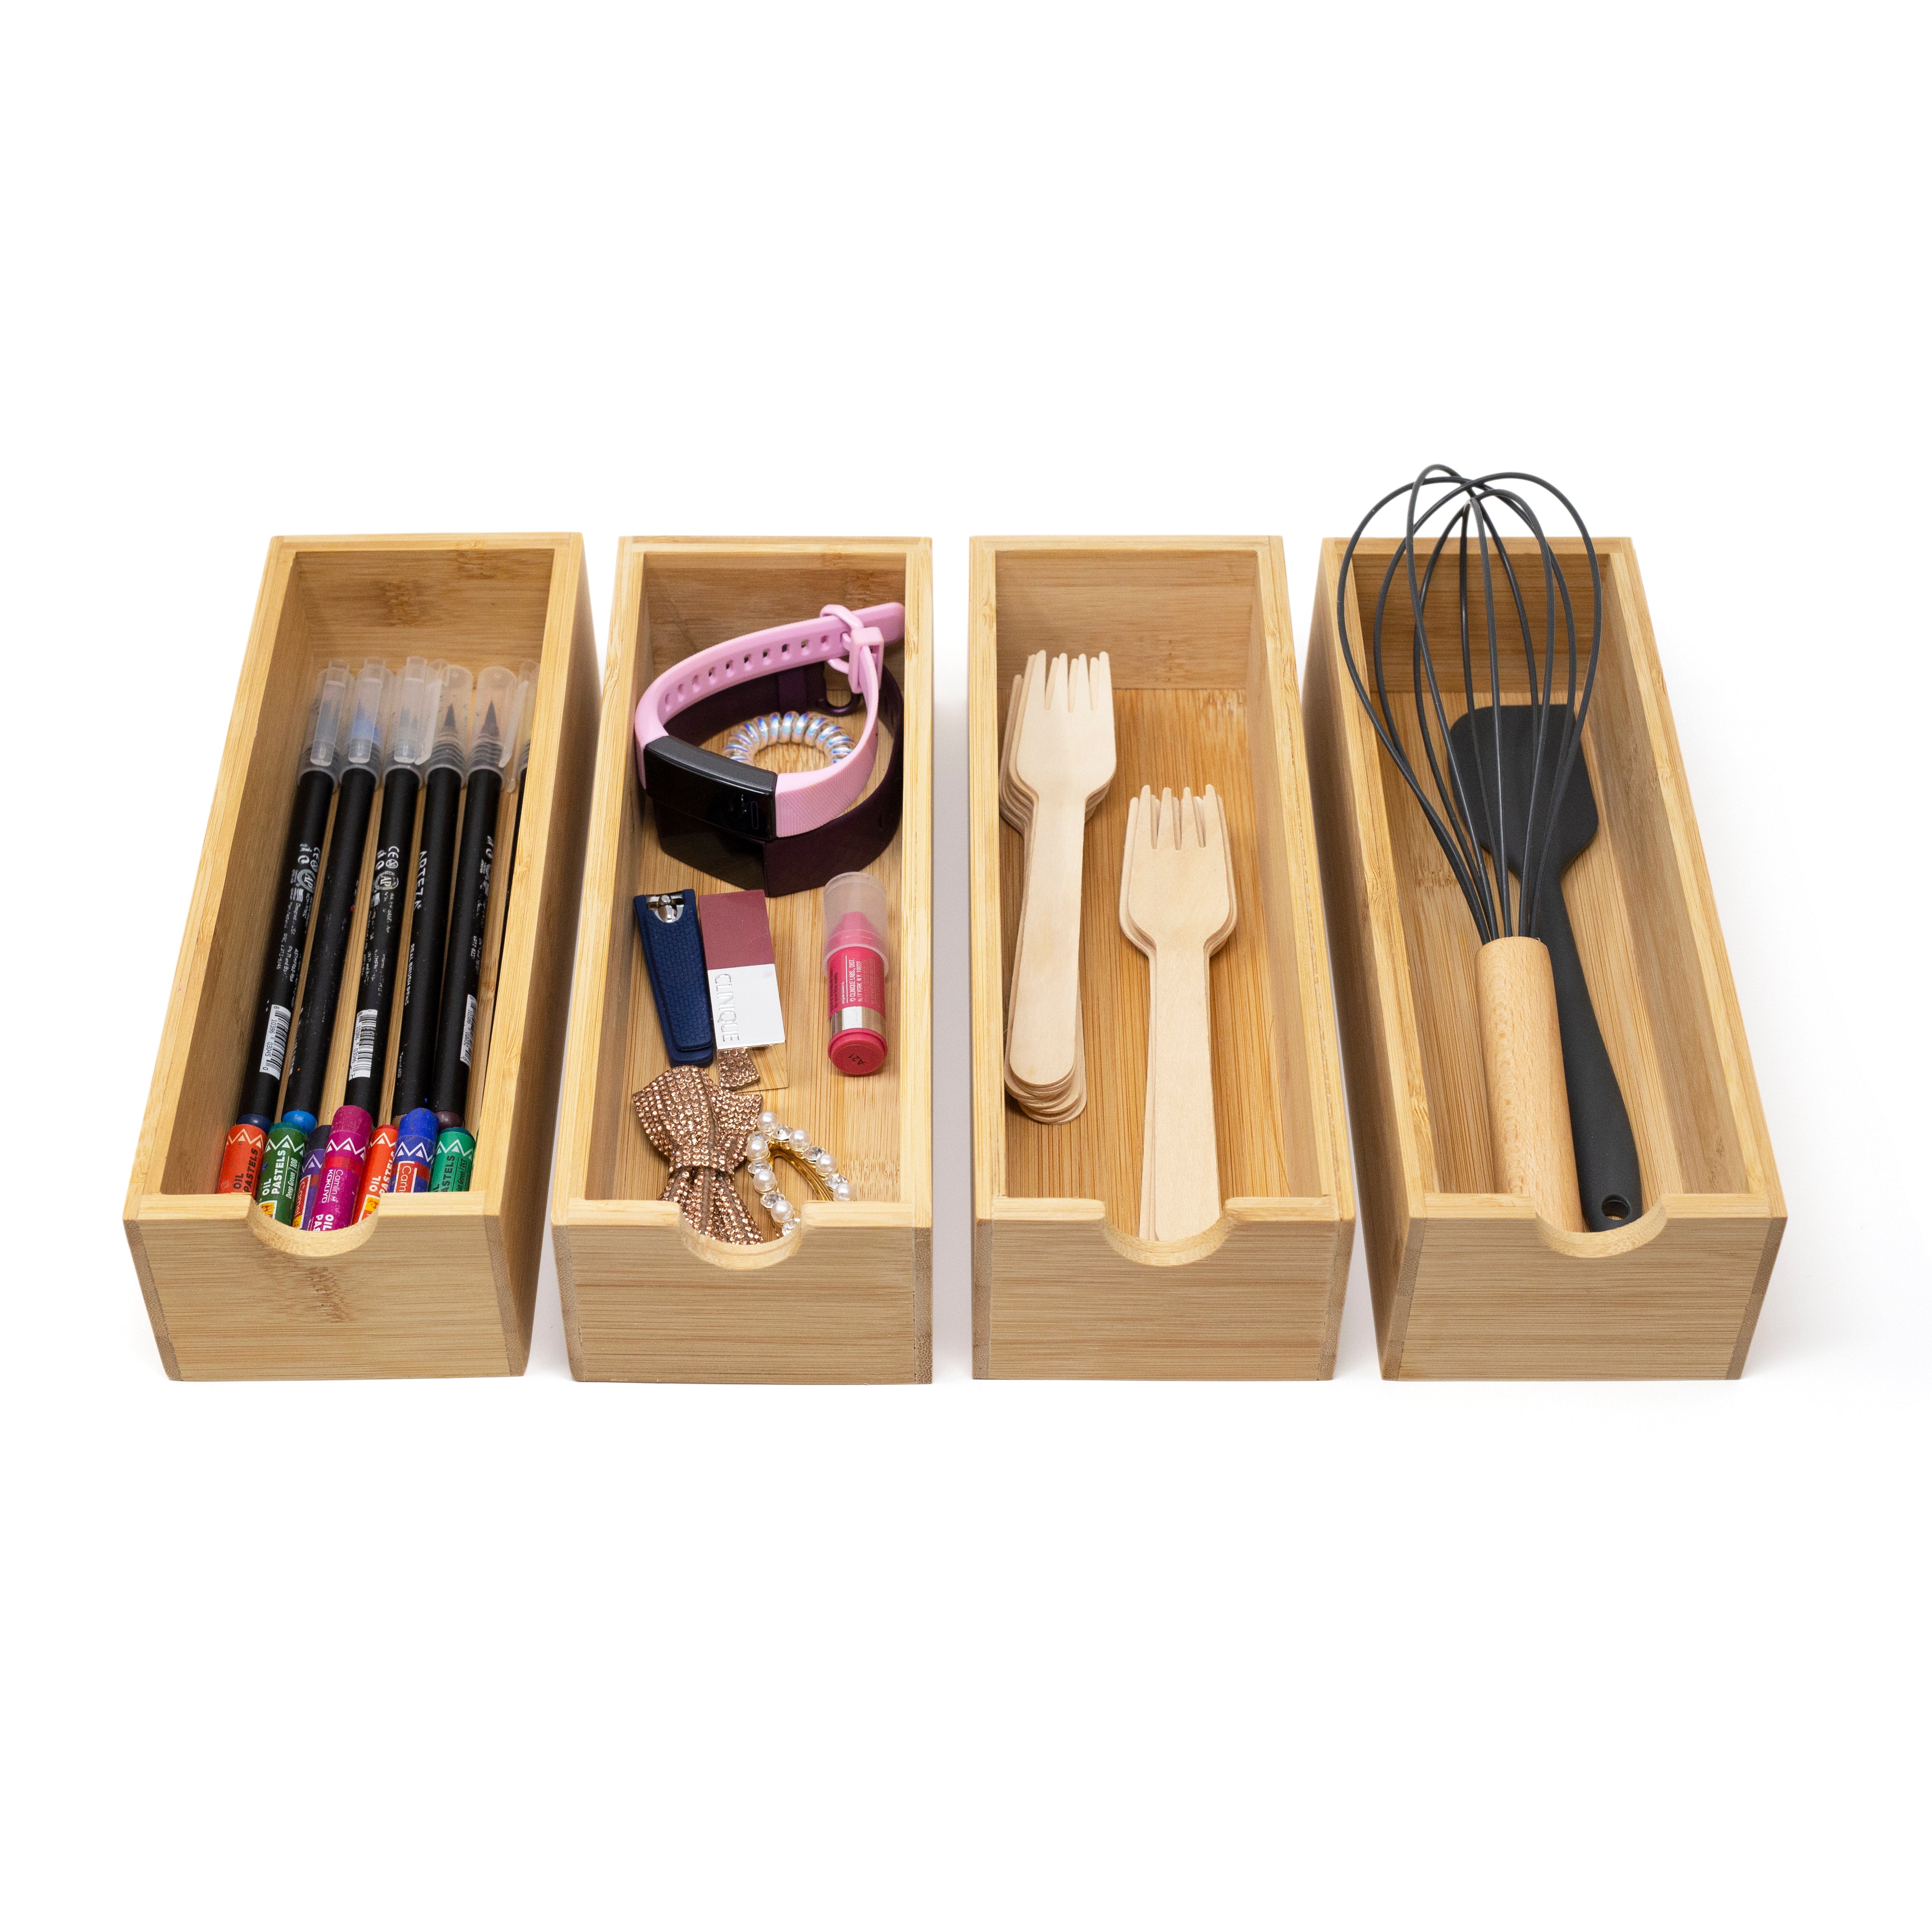
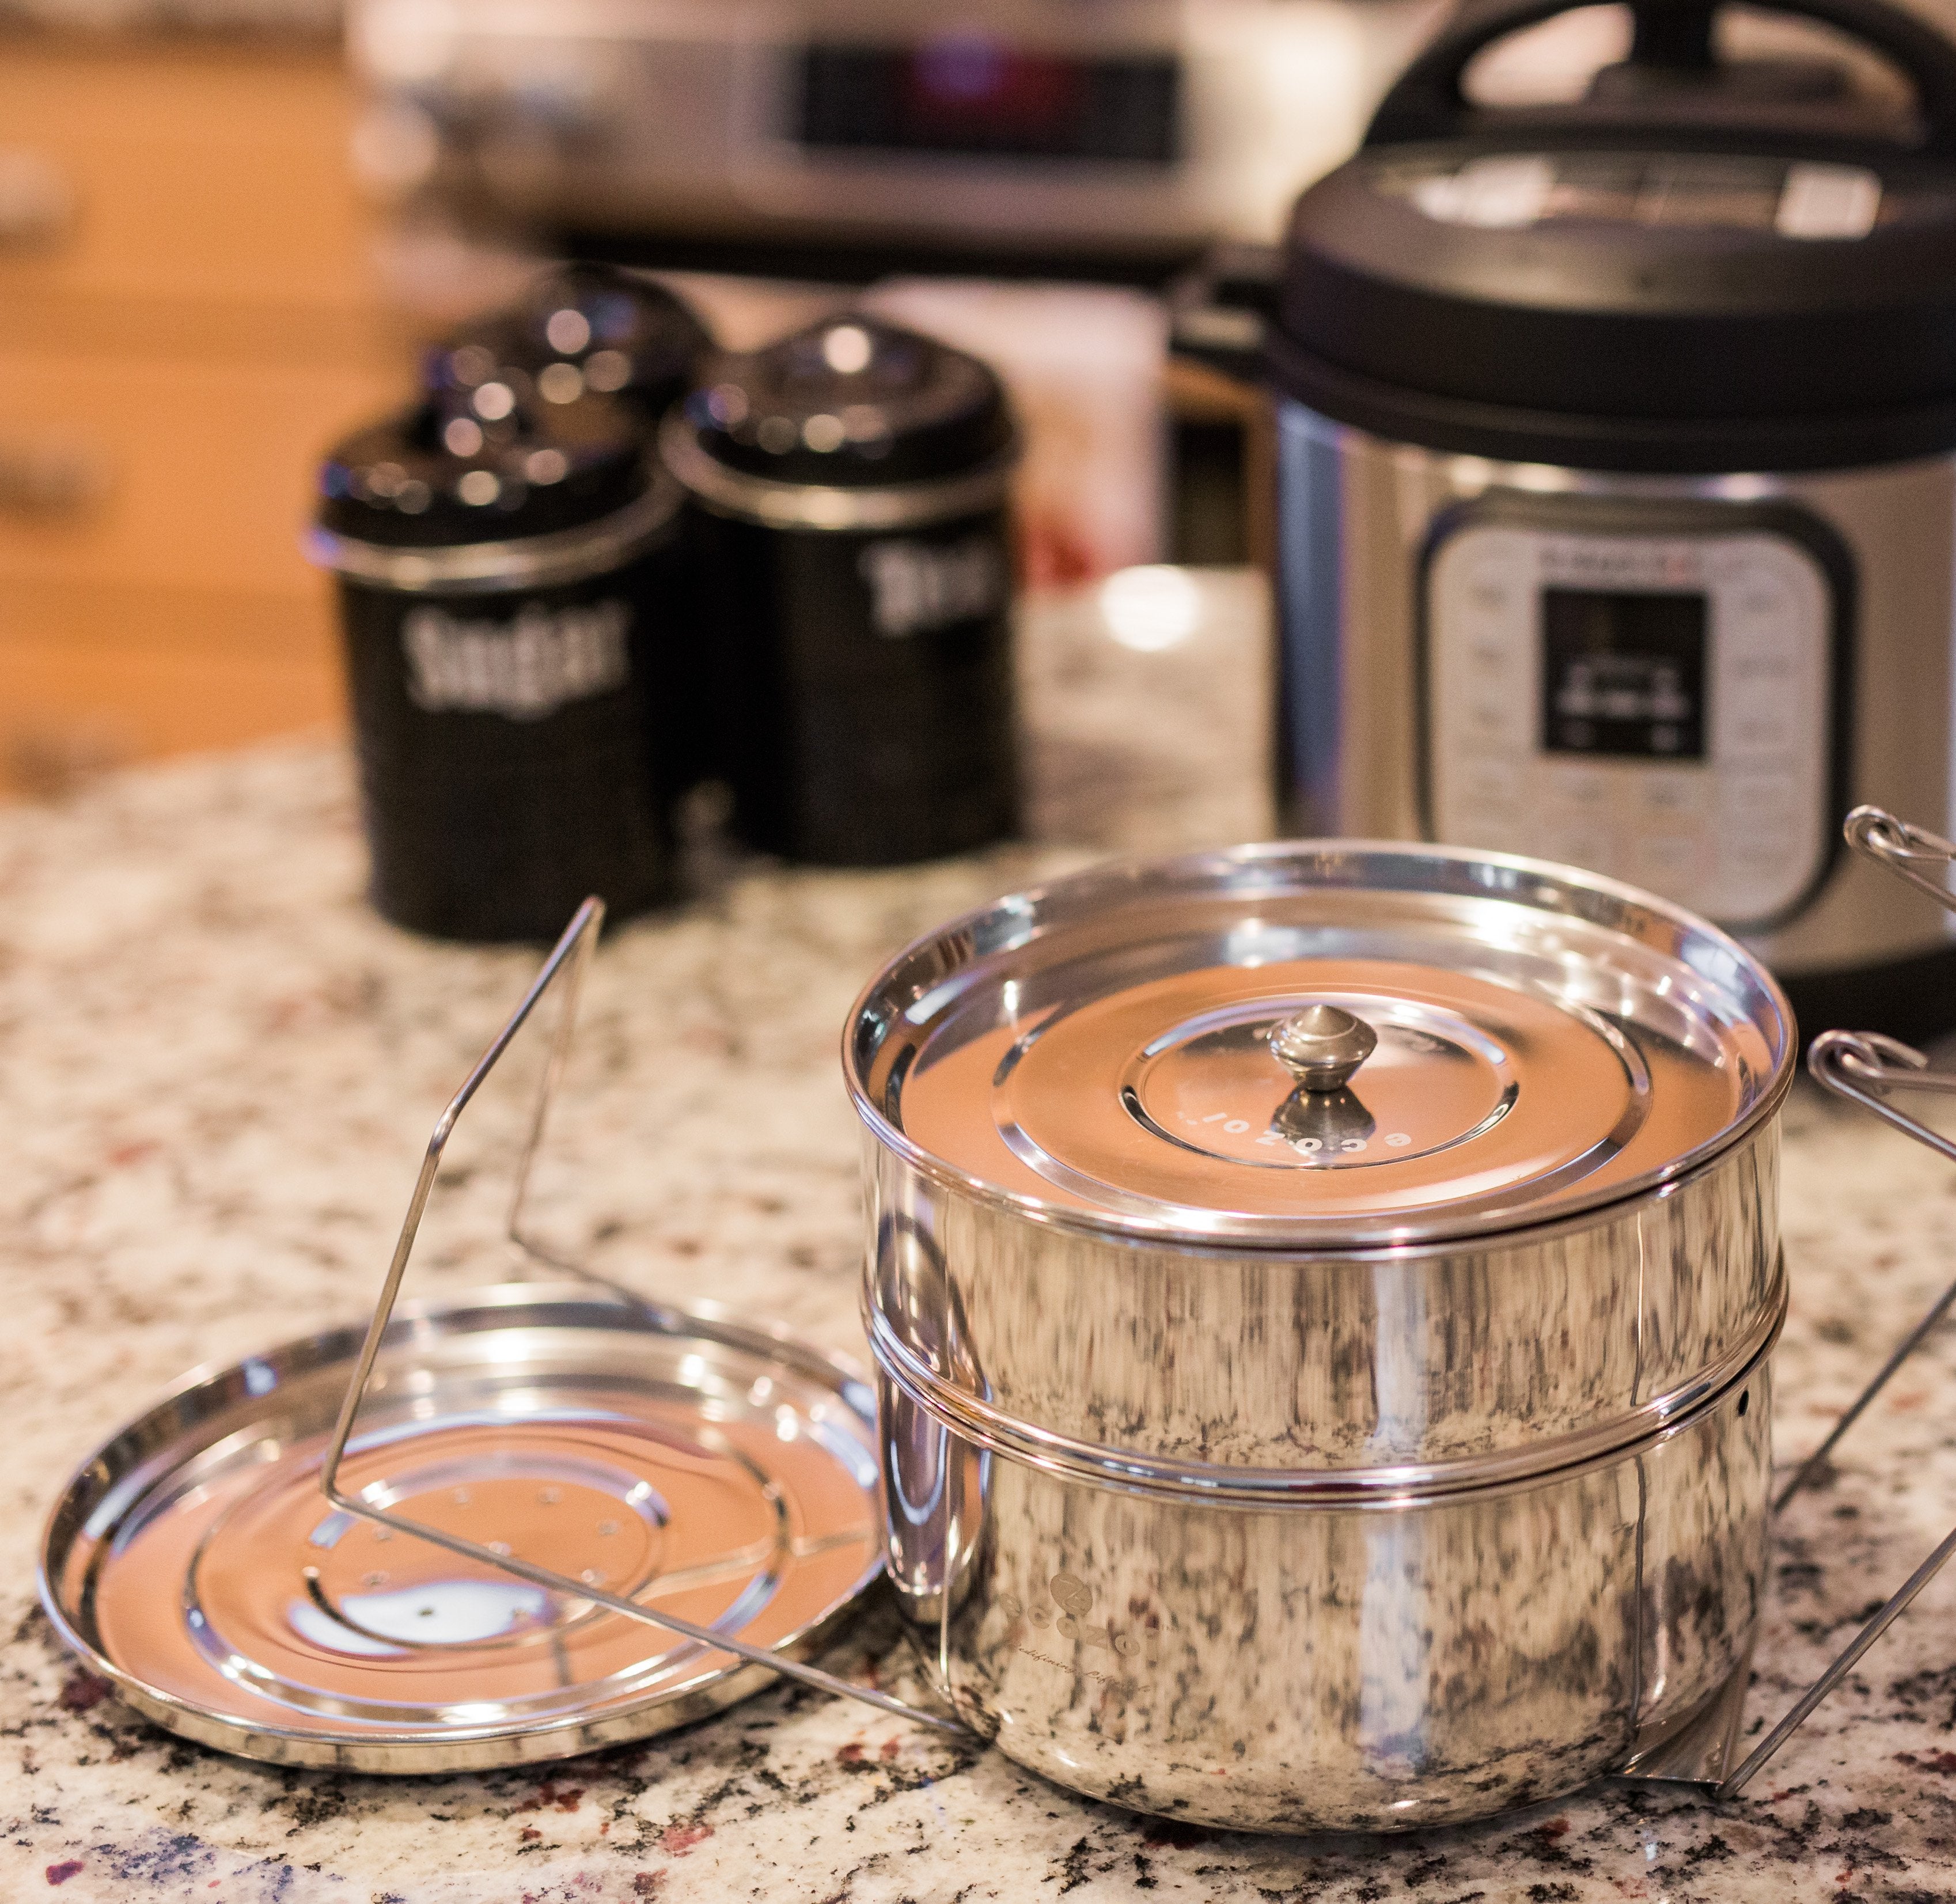
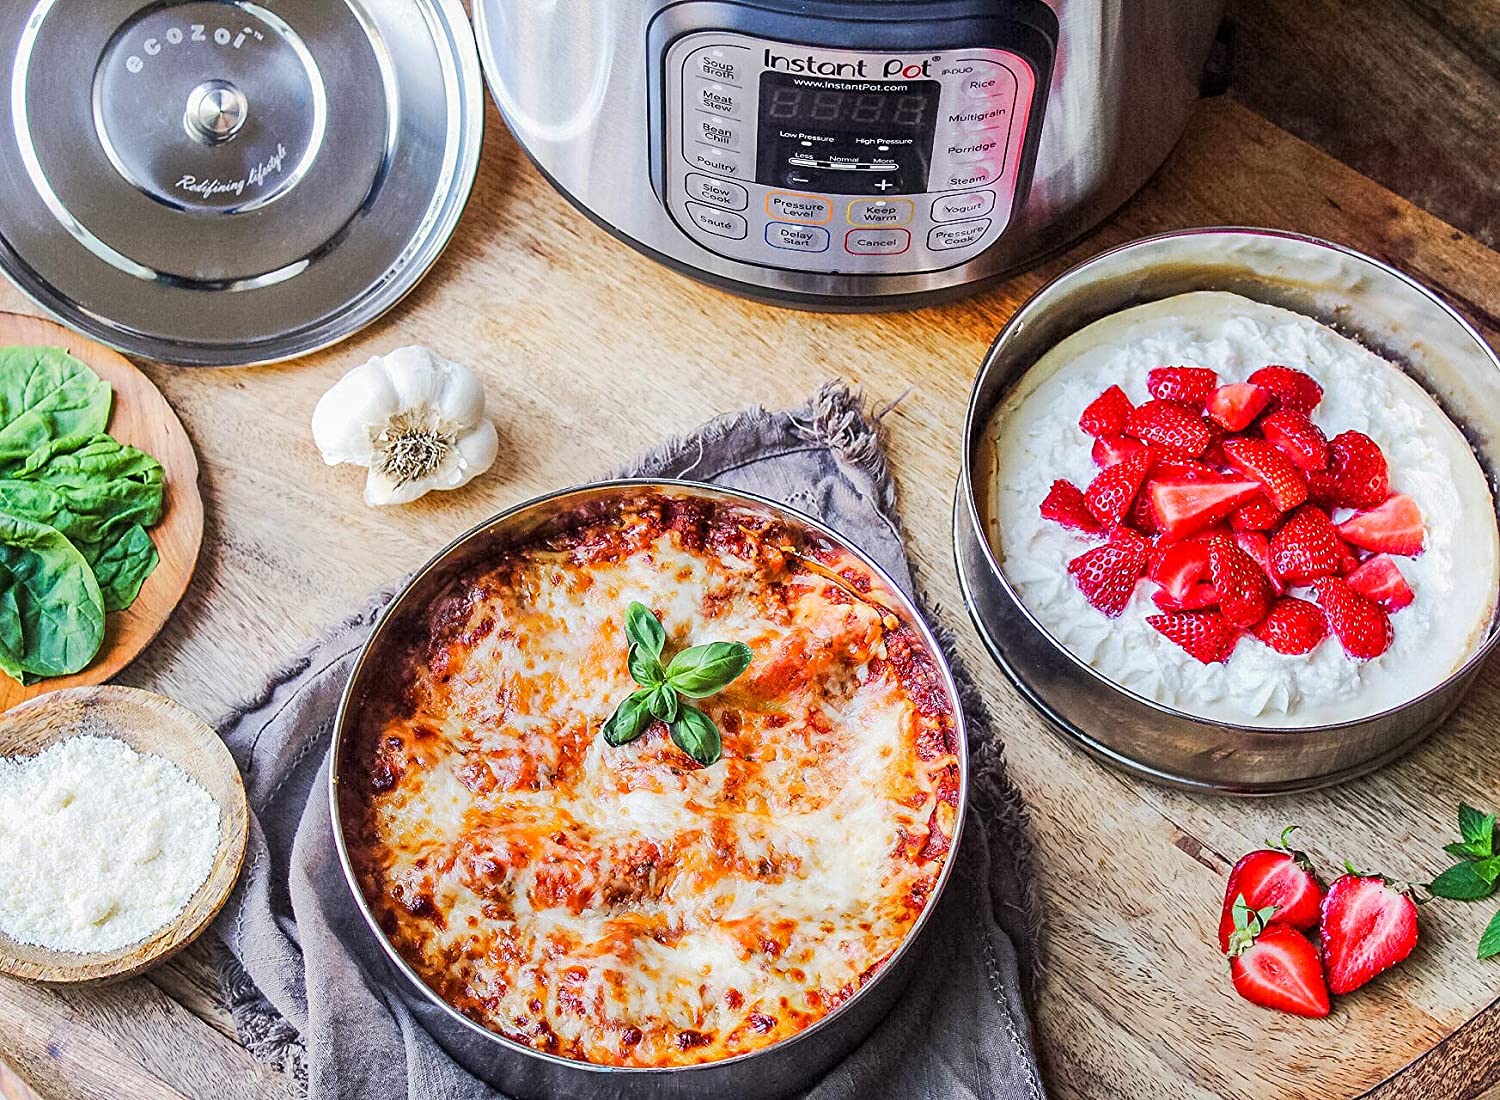
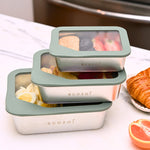
Eco-Friendly Prep: Easy to store in leak-proof, reusable containers like the Ecozoi Stainless Steel Food Containers to keep produce crisp in the fridge without single-use plastic wrap.
Ingredients & Supplies for Your Skeleton Veggie Tray
Building a veggie skeleton tray requires just a few fresh ingredients and a solid serving foundation.
Vegetables for the Skeleton Layout
-
Skeleton Head (Dip Container): 1 round serving bowl filled with dip (approx. 1 to 1.5 cups)
-
Ribcage: 1–2 bell peppers (red, orange, or yellow), cut into thin, curved strips
-
Spine & Neck: 1 cup cherry tomatoes, grape tomatoes, or sliced cucumber rounds
-
Shoulders & Collarbones: 2 long stalks of celery, cut into medium sticks
-
Arms & Legs: 4–6 celery stalks or whole baby carrots linked together
-
Hips & Pelvis: 2–3 large white button mushrooms, sliced in half, or a small head of cauliflower broken into floret halves
-
Hands & Feet: Broccoli florets, sugar snap peas, or small cauliflower clusters
-
Skull Face Details: 2 sliced black olives (eyes) and 1 small triangular tip of a bell pepper (nose)
Recommended Dips
-
1 cup Ranch dip, Tzatziki, Garlic Hummus, or Creamy Spinach Dip
Serving & Storage Equipment
-
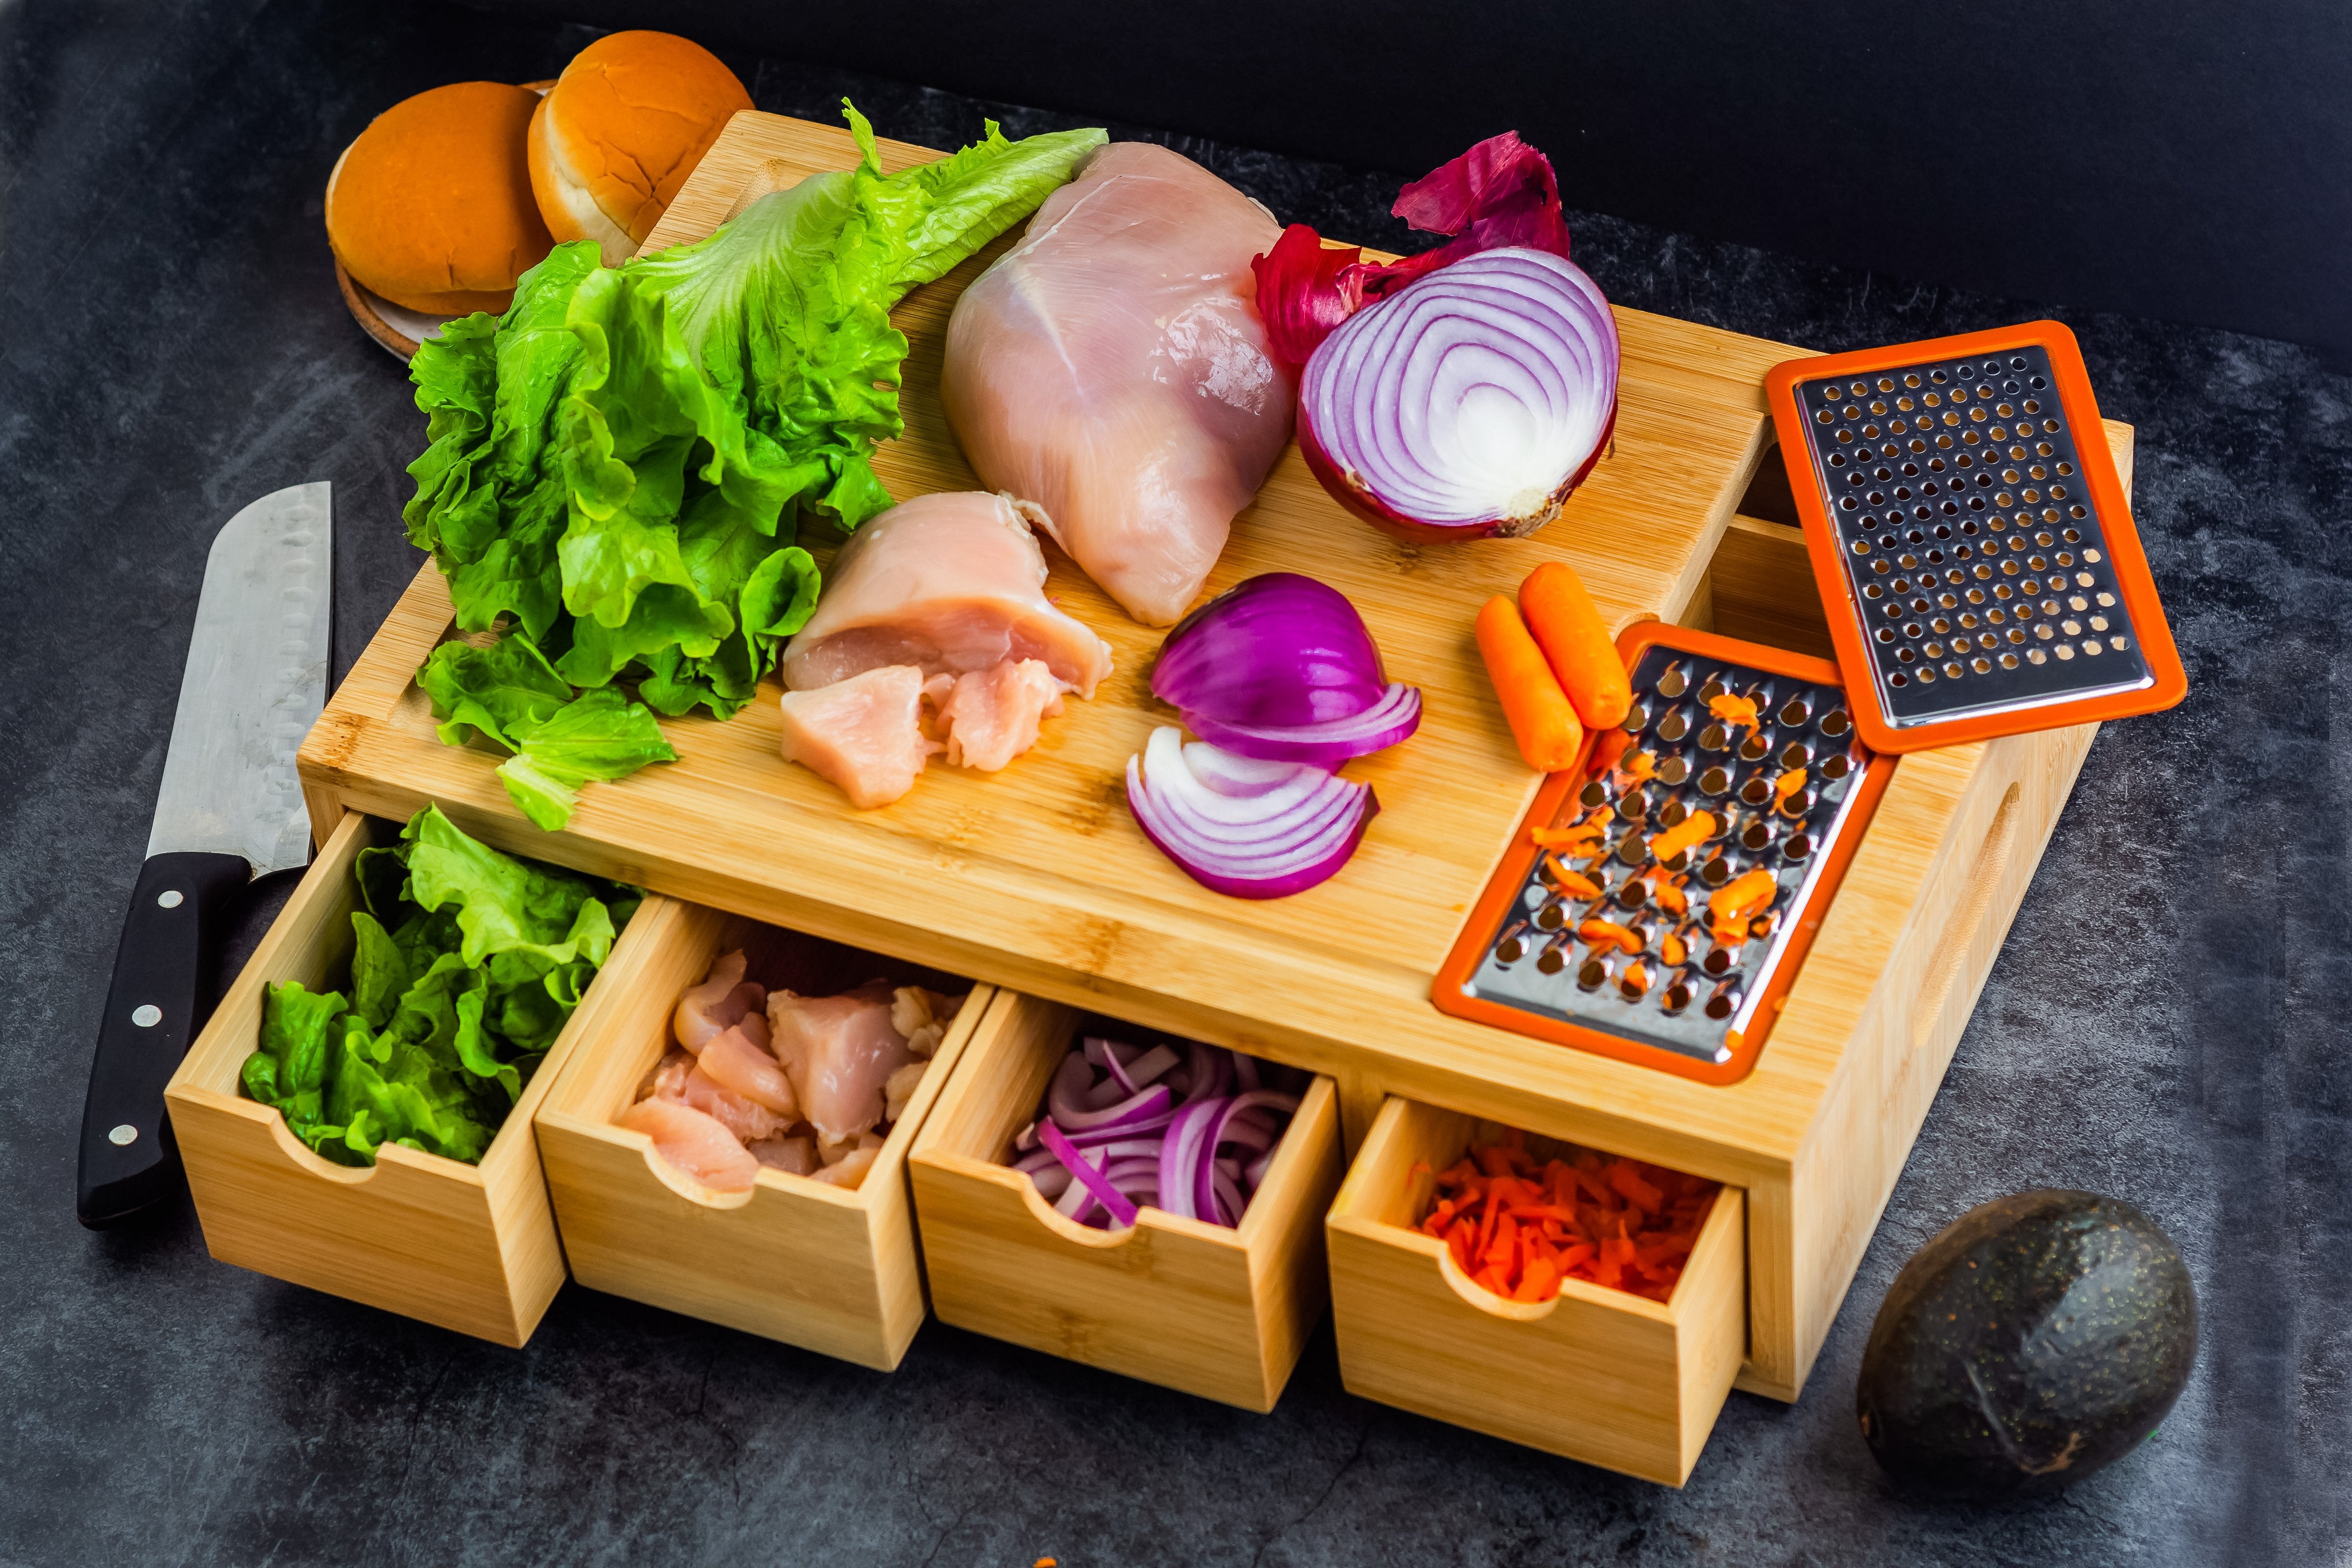
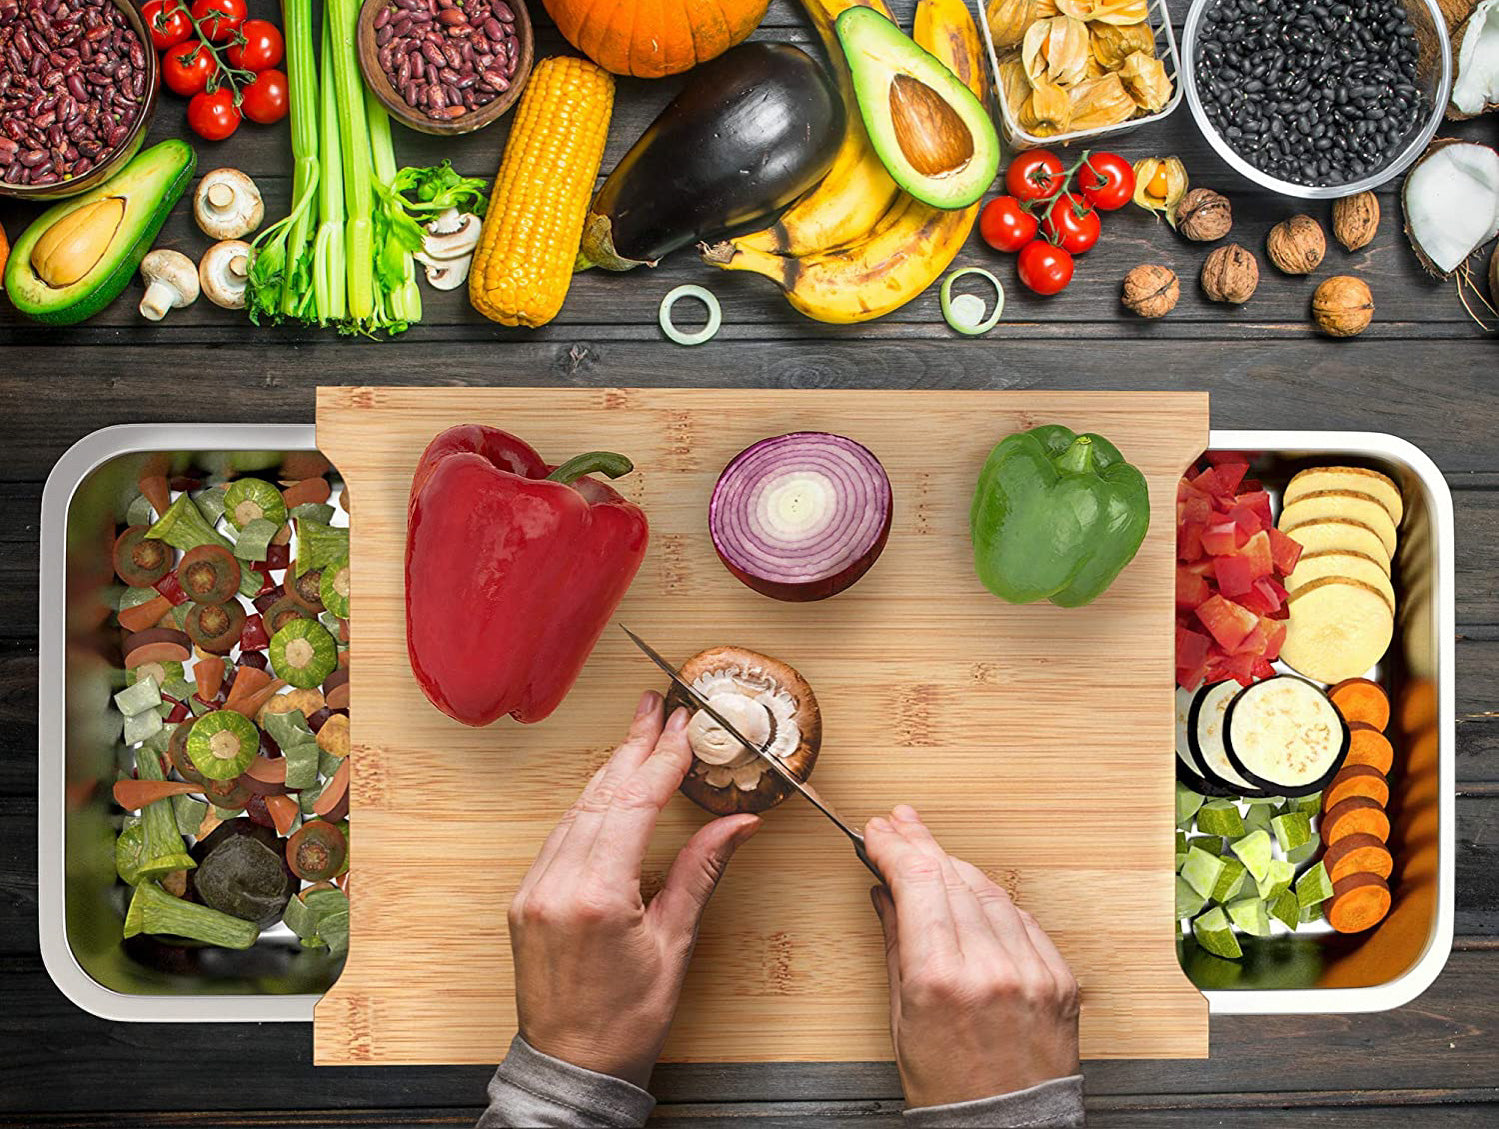
1 large rectangular serving platter, wooden cutting board, or large tray (at least 12x18 inches)
-
Airtight stainless steel storage containers for prep work (such as the Ecozoi Leak-Proof Stainless Steel Bento Boxes)

Step-by-Step Instructions: How to Build a Veggie Skeleton Tray
Step 1: Prep Your Serving Surface
Select a large platter or cutting board. Make sure the surface is completely clean and dry so your vegetables stay stable and do not slide around during assembly.
Step 2: Create the Skeleton Head
Place a small, round bowl near the top center of your board. Fill the bowl with your favorite white or light-colored dip (such as ranch or garlic hummus). Place two sliced black olive rings on top of the dip for the skull’s eyes and a tiny triangle piece of red bell pepper for the nose.
Step 3: Build the Spine and Neck
Directly underneath the dip bowl, arrange a vertical line of cherry tomatoes or cucumber slices down the middle of the board to form the neck and spine.
Step 4: Construct the Ribcage
Take curved sliced bell pepper strips and place them horizontally across the spine, arching them slightly upward on each side. Alternate colors (red, orange, and yellow) for a bright, festive look.
Step 5: Form the Shoulders, Arms, and Legs
Place two celery sticks horizontally across the top of the ribcage to act as collarbones. Extend celery sticks or baby carrots downward from the shoulders to form the upper and lower arms. Repeat this process at the base of the spine using longer celery sticks or carrot sticks to form the legs.
Step 6: Add the Pelvis and Joints
Place mushroom halves or cauliflower florets at the base of the spine to represent the pelvis/hip bones. Use small mushroom caps at the elbows and knees to serve as bone joints.
Step 7: Finish with Hands and Feet
At the end of the arms and legs, arrange small broccoli florets, sugar snap peas, or cauliflower clusters to form the hands and feet. Fill in any extra blank spaces on the platter with remaining veggies for easy snacking!

Pro Tips for the Best Halloween Vegetable Skeleton Platter
-
Keep Produce Dry: After washing your vegetables, dry them thoroughly with a towel. Moisture causes veggies to slide on the tray and makes dips watery.
-
Use Dip as Anchor: To prevent the main body pieces from shifting when moving the platter, put a tiny dab of hummus or dip under the base pieces (like the spine tomatoes and knee joints) to act as edible "glue."
-
Choose Vibrant Contrast: Mix dark greens (broccoli, snap peas, celery) with bright colors (carrots, red bell peppers, cherry tomatoes) so your skeleton veggies pop against your serving platter.
-
Serve with Sustainable Snack Ware: Complement your party display by serving extra veggies, crackers, and dips in eco-friendly kitchenware like Ecozoi Eco-Friendly Kitchen Accessories for a zero-waste, plastic-free Halloween celebration.

FAQs
1. What vegetables do I need for a skeleton veggie tray?
You can use any combination of firm, crisp vegetables! Popular choices include:
-
Head: Dip in a round bowl
-
Ribs: Bell pepper strips (red, yellow, orange)
-
Spine: Cherry tomatoes, cucumber slices, or radish slices
-
Limbs: Celery stalks, baby carrots, or green beans
-
Joints & Pelvis: Mushrooms, cauliflower florets, or broccoli
-
Hands & Feet: Snap peas, broccoli stems, or small cauliflower pieces
2. What dips go best with a skeleton veggie tray?
White or light-colored dips work best for the skull head to create contrast with the olive eyes. Top picks include:
-
Creamy Ranch Dip
-
Garlic or Classic Chickpea Hummus
-
Tzatziki (Greek Yogurt Cucumber Dip)
-
Creamy Spinach and Artichoke Dip
-
French Onion Dip
3. How far in advance can I cut vegetables for a skeleton veggie tray?
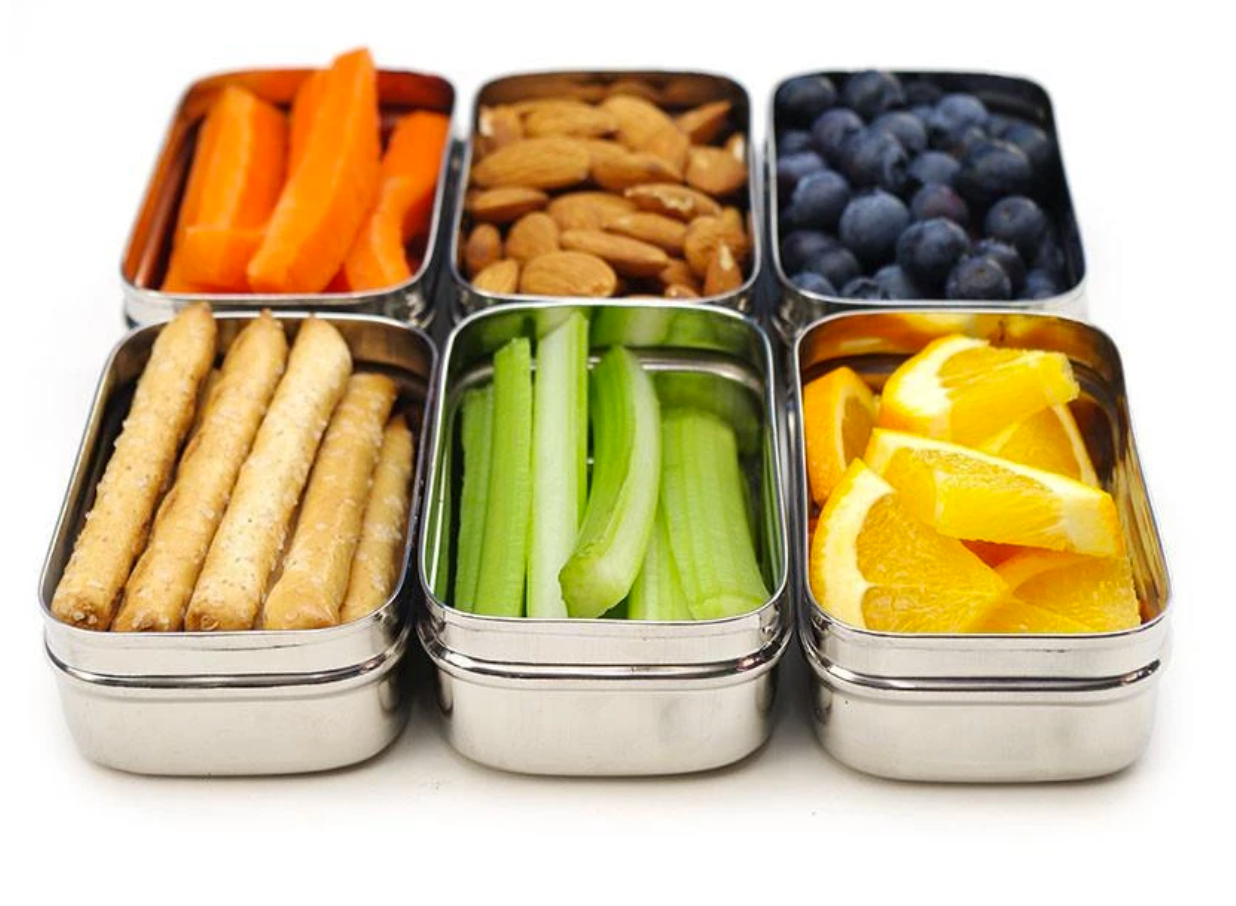
You can wash and chop most vegetables (carrots, celery, bell peppers, broccoli) 1 to 2 days in advance. Store your sliced produce in airtight containers in the refrigerator to maintain maximum crispness. To store your prepped veggies without plastic waste, store them in sealed Ecozoi Stainless Steel Lunch Boxes. Assemble the skeleton on the tray 1 to 2 hours before your party for the freshest presentation.
4. How do I stop the skeleton from sliding or breaking?
To stop your veggie skeleton platter from shifting while serving or transporting:
-
Dry veggies thoroughly after washing.
-
Use a rougher textured surface, such as a wooden cutting board, rather than a slick glass tray.
-
Use small dabs of thick dip (like hummus) underneath key pieces like the spine and joints to anchor them to the board.
5. What size tray do I need for a veggie skeleton platter?
A tray or wooden board that is at least 12 x 18 inches (or larger) works best to accommodate a full head-to-toe skeleton layout. If you only have a smaller platter, you can create a "torso-only" skeleton using just the dip head, bell pepper ribs, and shoulder bones!
Wrap Up
Making a skeleton veggie tray is an easy, fun, and healthy way to celebrate Halloween with family and friends. With just a few fresh vegetables, a bowl of tasty dip, and a little creativity, you can assemble an unforgettable veggie skeleton platter that keeps everyone reaching for crisp, nutrient-rich snacks throughout the night!


